Adding Authentication with Auth0
Authentication in the process of identifying who is trying to access our API. Building our solution can be hard and cause a severe security issue if done wrong. In recent years third-party authentication providers became quite popular. One of those is Auth0, which comes with an exceptional free plan allowing up to 7.000 active users and unlimited logins, making it one of the best available solutions for getting started.
In this guide we will go through all the steps required for integrating authentication into an
existing envelop setup using the @envelop/auth0 package.
Prerequisites
Ideally, you already have your basic envelop setup with your HTTP framework of choice. This guide
will be based on the
graphql-helix fastify example,
but the code can be easily transferred to any other example as listed on our
Integrations and Examples documentation. In case you are hitting any
roadblocks feel free to reach out to us via the chat box on this page! The full code of the
end-result is also available in our examples
graphql-helix-auth0 fastify example.
Installing Dependencies
We start by installing the package into our envelop setup with your favorite Package manager.
npm i @envelop/auth0Adding the Auth0 Plugin to the Envelop Setup
import * as GraphQLJS from 'graphql'
import { useAuth0 } from '@envelop/auth0'
import { engine, useEngine, useSchema } from '@envelop/core'

// ... other imports and code

const getEnveloped = envelop({
  plugins: [
    useEngine(GraphQLJS),
    useSchema(schema),
    useAuth0({
      domain: 'TODO',
      audience: 'TODO',
      extendContextField: 'auth0'
    })
  ]
})

// ... server code
Let’s break down the code. There are several configuration options we need to pass to the plugin.
domain The domain of the Auth0 server we need to communicate with for authenticating a user.
We will fill this out in the next step.
audience The audience is the identifier of the API and is forwarded to Auth0 in order to
specify for which API we are trying to authenticate our user for. E.g. if our API is hosted on
http://localhost:3000/graphql, we would pass that value. We will fill this out in the next step.
extendContextField Once a user got successfully authenticated the authentication information
is added to the context object under this field. In our resolvers we can then access the
authentication information via context.auth?.sub.
Setting up the Auth0 API
In order to properly configure the useAuth0 plugin we need the domain and audience values. We
will retrieve them by setting and configuring Auth0 from scratch!
If didn’t already sign up for Auth0, you should do it now on Auth0 Sign Up. Since you can sign up with your GitHub or Google Account it should be super fast!
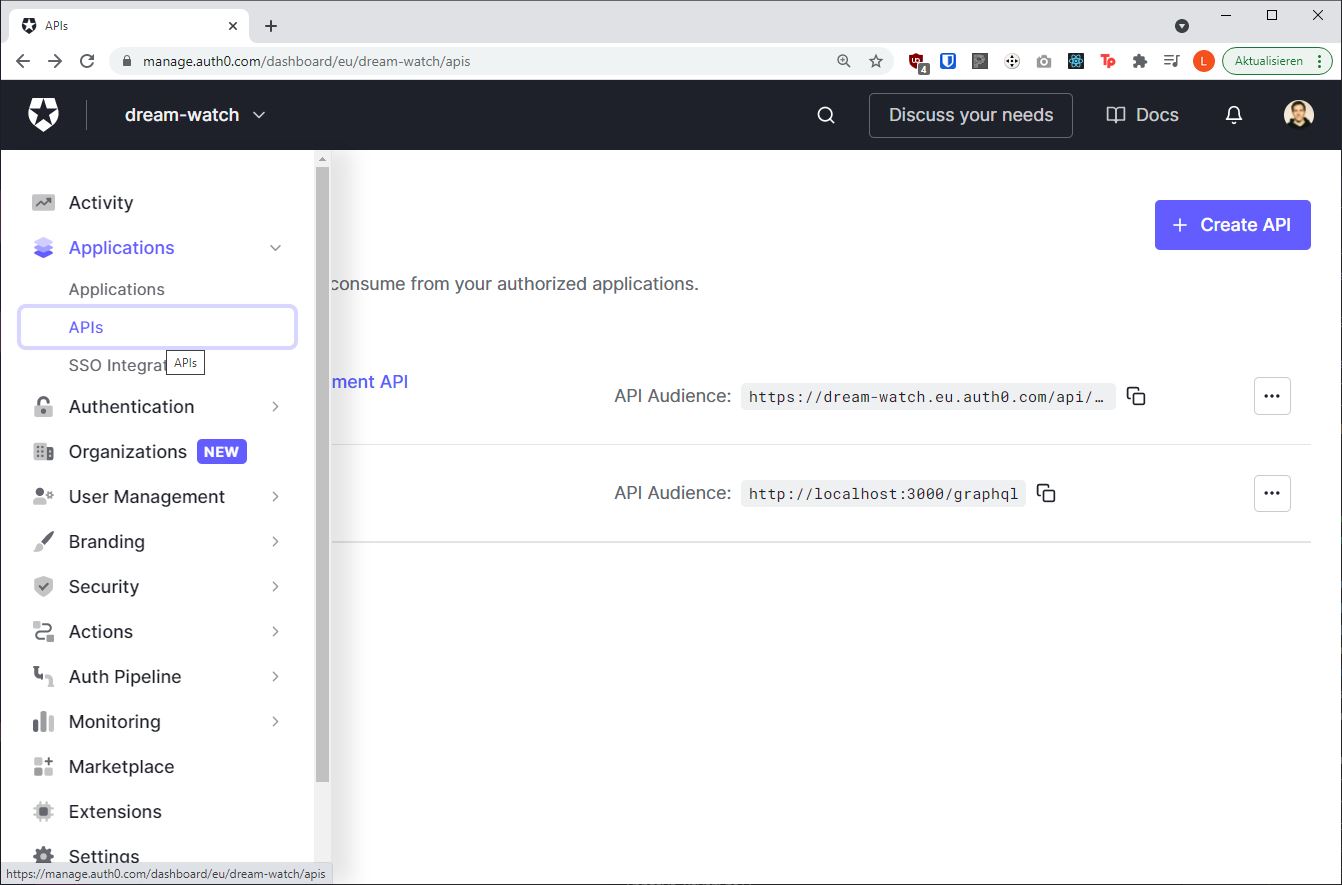
After logging in navigate to the Auth0 dashboard and from there to the APIs page, where we will click the Create API button.
Choose any name for the API, we are going with Envelop Demo for this example. The Identifier
field should be set to the URL of our GraphQL API. We are hosting our API on localhost and set it to
the host and port on which our Fastify helix server is served, which is
http://localhost:3000/graphql. For production, you should instead set it to the URL of the
production server.
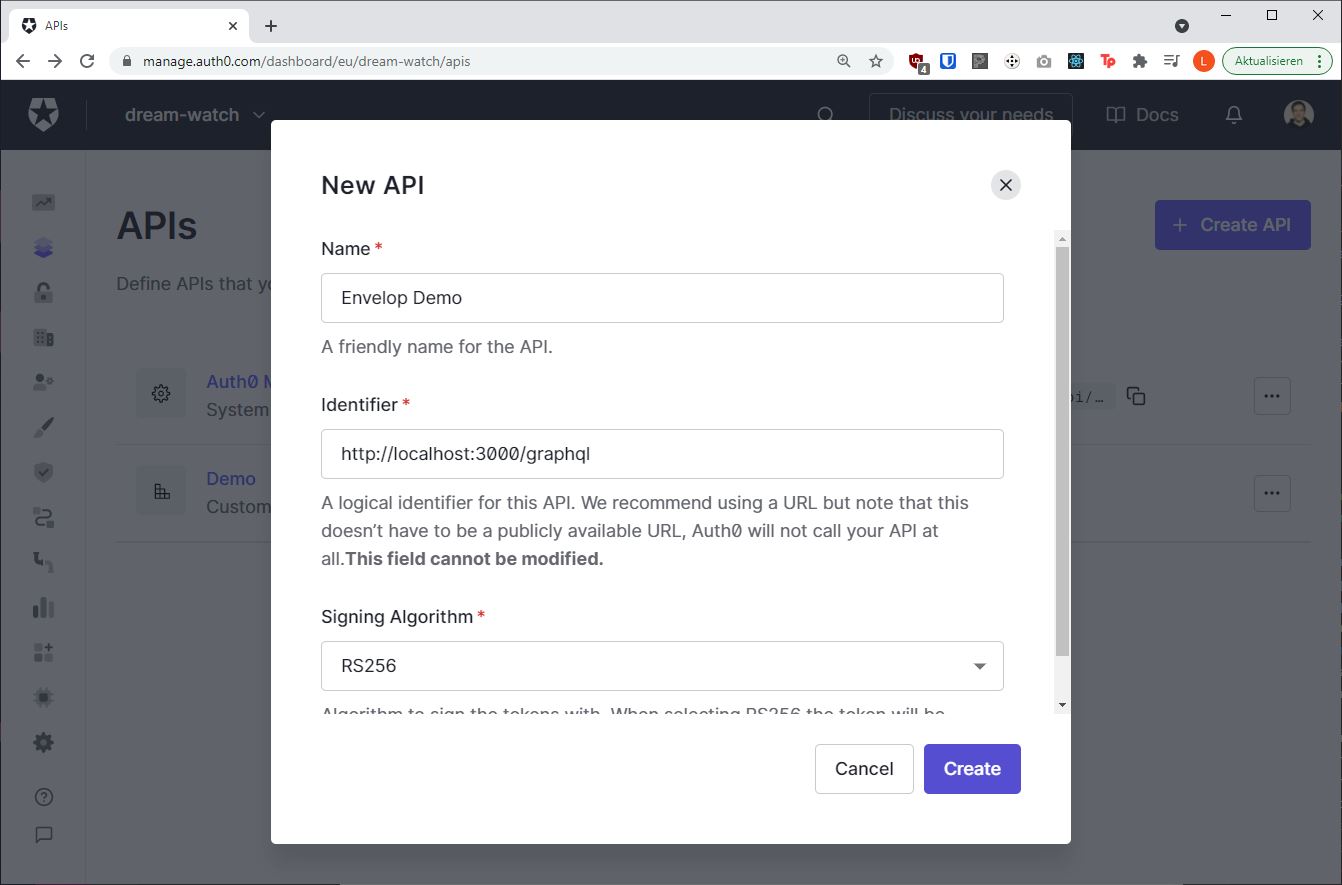
We can ignore the Signing Algorithm option and go with the pre-set value. Once everything is filled
out properly we can click the Create button.
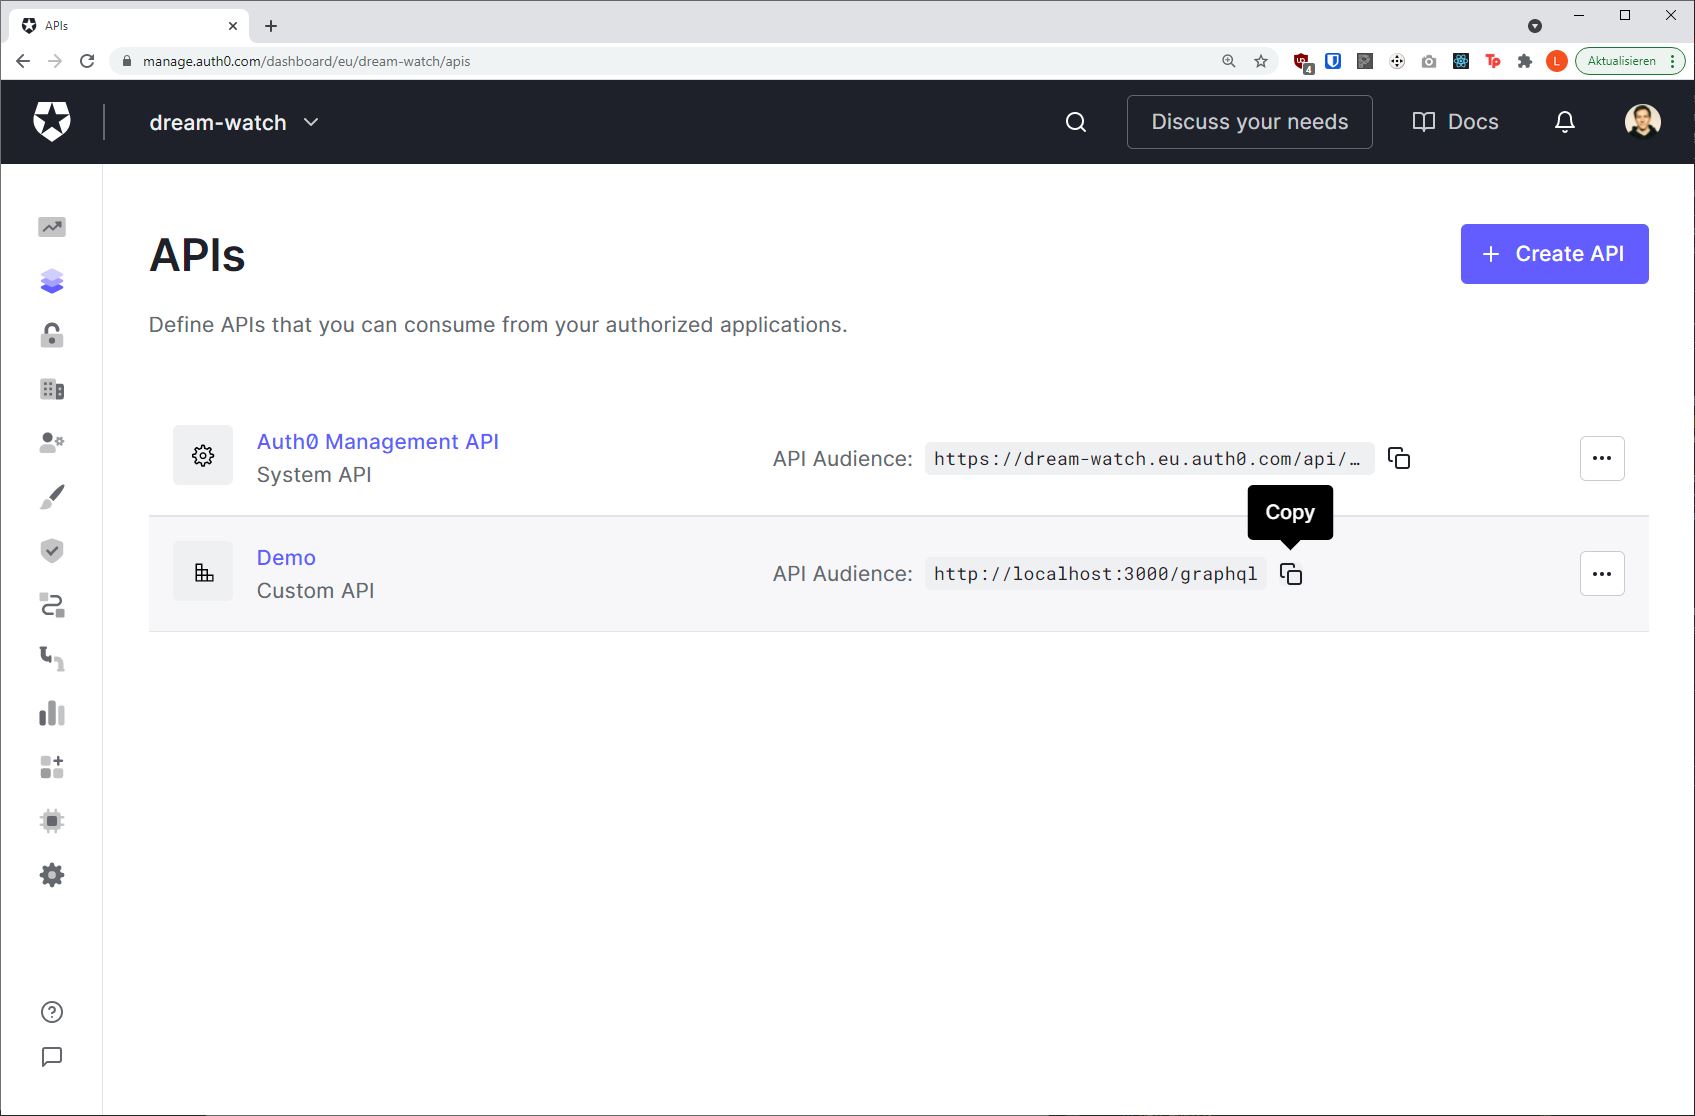
Now we already have one of the missing config options we needed audience , which is equal to the
URL we just entered http://localhost:3000/graphql.
The domain value is a bit hidden, but we can find it on the detail page of the API we just
created, on the Test tab.
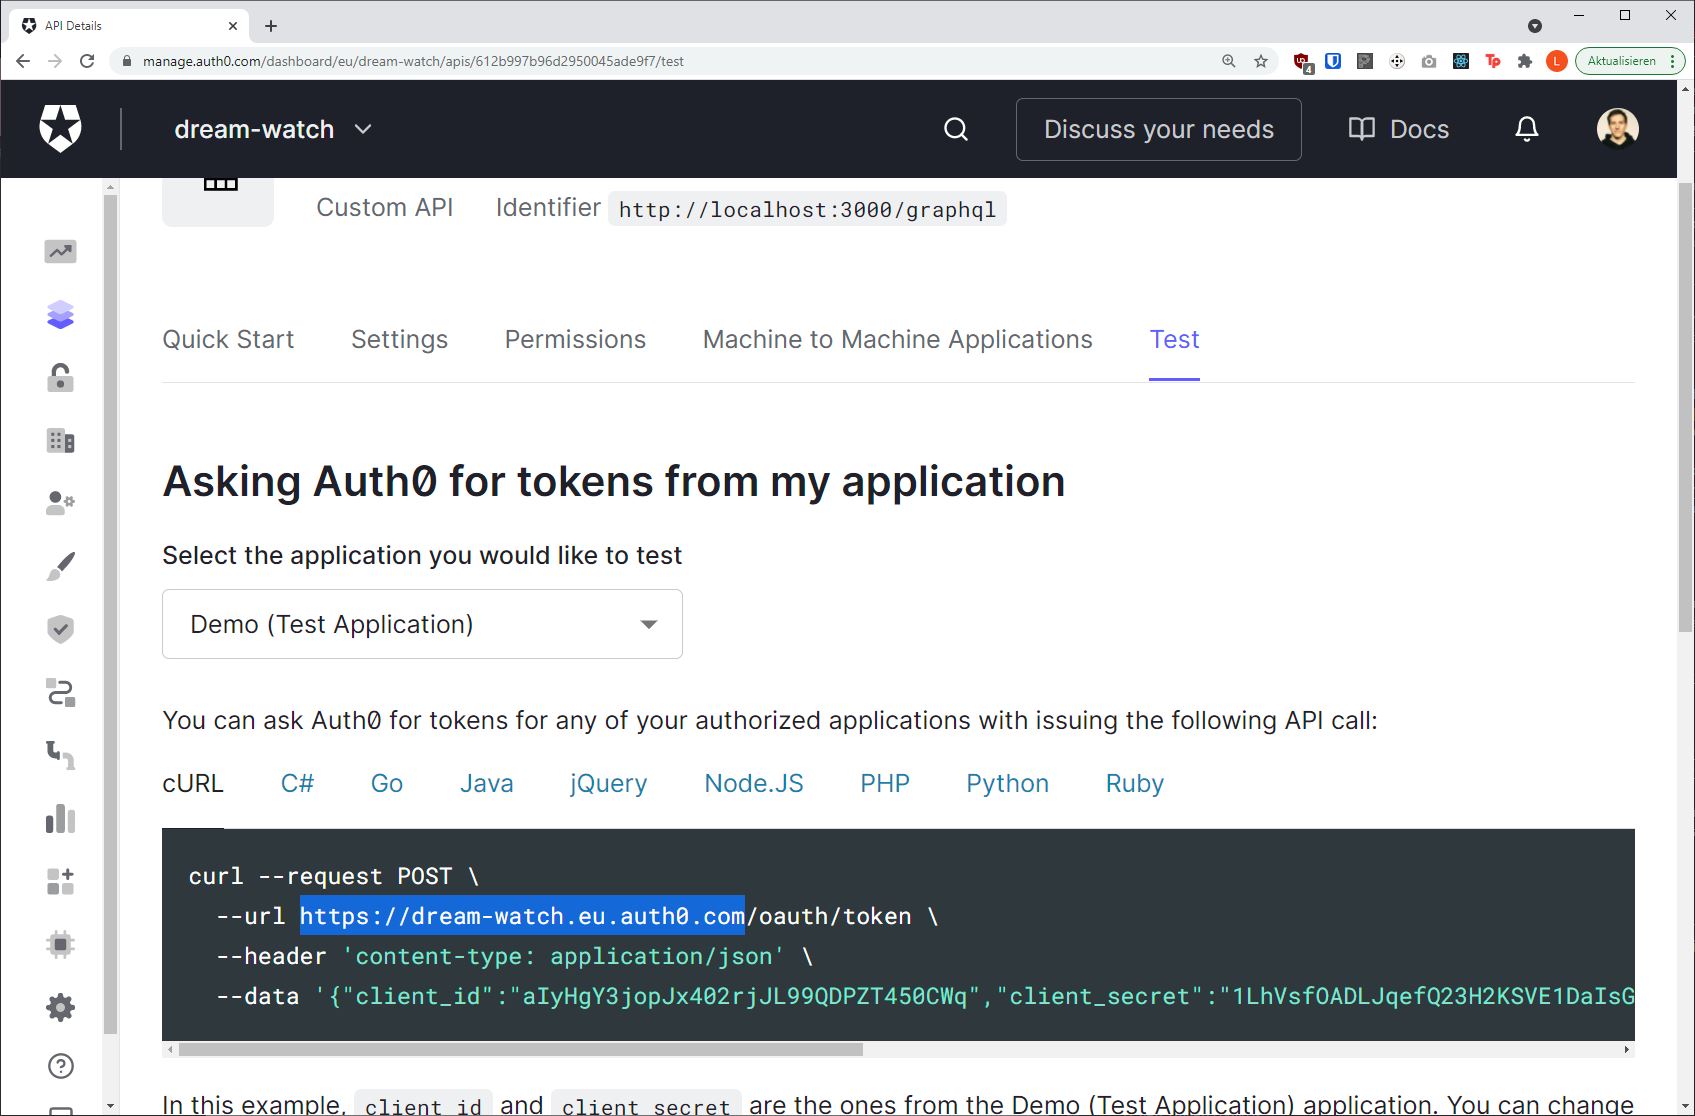
It will vary depending on your account name and region, but in general, it follows this pattern:
{account_name}.{region}.auth0.comThis is our domain configuration value.
Let’s quickly add this information to our envelop setup.
import * as GraphQLJS from 'graphql'
import { useAuth0 } from '@envelop/auth0'
import { envelop, useEngine, useSchema } from '@envelop/core'

// ... other imports and code

const getEnveloped = envelop({
  plugins: [
    useEngine(GraphQLJS),
    useSchema(schema),
    useAuth0({
      domain: '{account_name}.{region}.auth0.com',
      audience: 'http://localhost:3000/graphql',
      extendContextField: 'auth0'
    })
  ]
})
We now have all the information needed for configuring the envelop plugin. However, we did not yet setup an application that is required for users to authenticate in the browser.
But before doing so, let’s verify that the plugin is doing what it should do.
Expose Authentication Information via GraphQL Schema
Before we start our server we should add some types and fields to our schema in order to query for the authentication information. The complete code should look like this:
// The quickest way of building a schema 🙂
import { makeExecutableSchema } from '@graphql-tools/schema'

const schema = makeExecutableSchema({
  typeDefs: /* GraphQL */ `
    """
    Describes the authentication object as provided by Auth0.
    """
    type AuthenticationInfo {
      """
      String that uniquely identifies an authenticated user.
      """
      sub: String!
    }

    type Query {
      """
      The authentication information of the request.
      """
      authInfo: AuthenticationInfo
    }
  `,
  resolvers: {
    Query: {
      authInfo(_source, _args, context) {
        return context.auth0
      }
    }
  }
})
Then we can start our server. The helix Fastify server can be started via yarn start.
C:\Users\laurin\Projects\envelop\examples\graphql-helix > yarn start
yarn run v1.22.10
$ ts-node index.ts
GraphQL server is running.
Next, we are going to execute a query on the GraphiQL instance exposed on
http:localhost:3000/graphql.
query {
  authInfo {
    sub
  }
}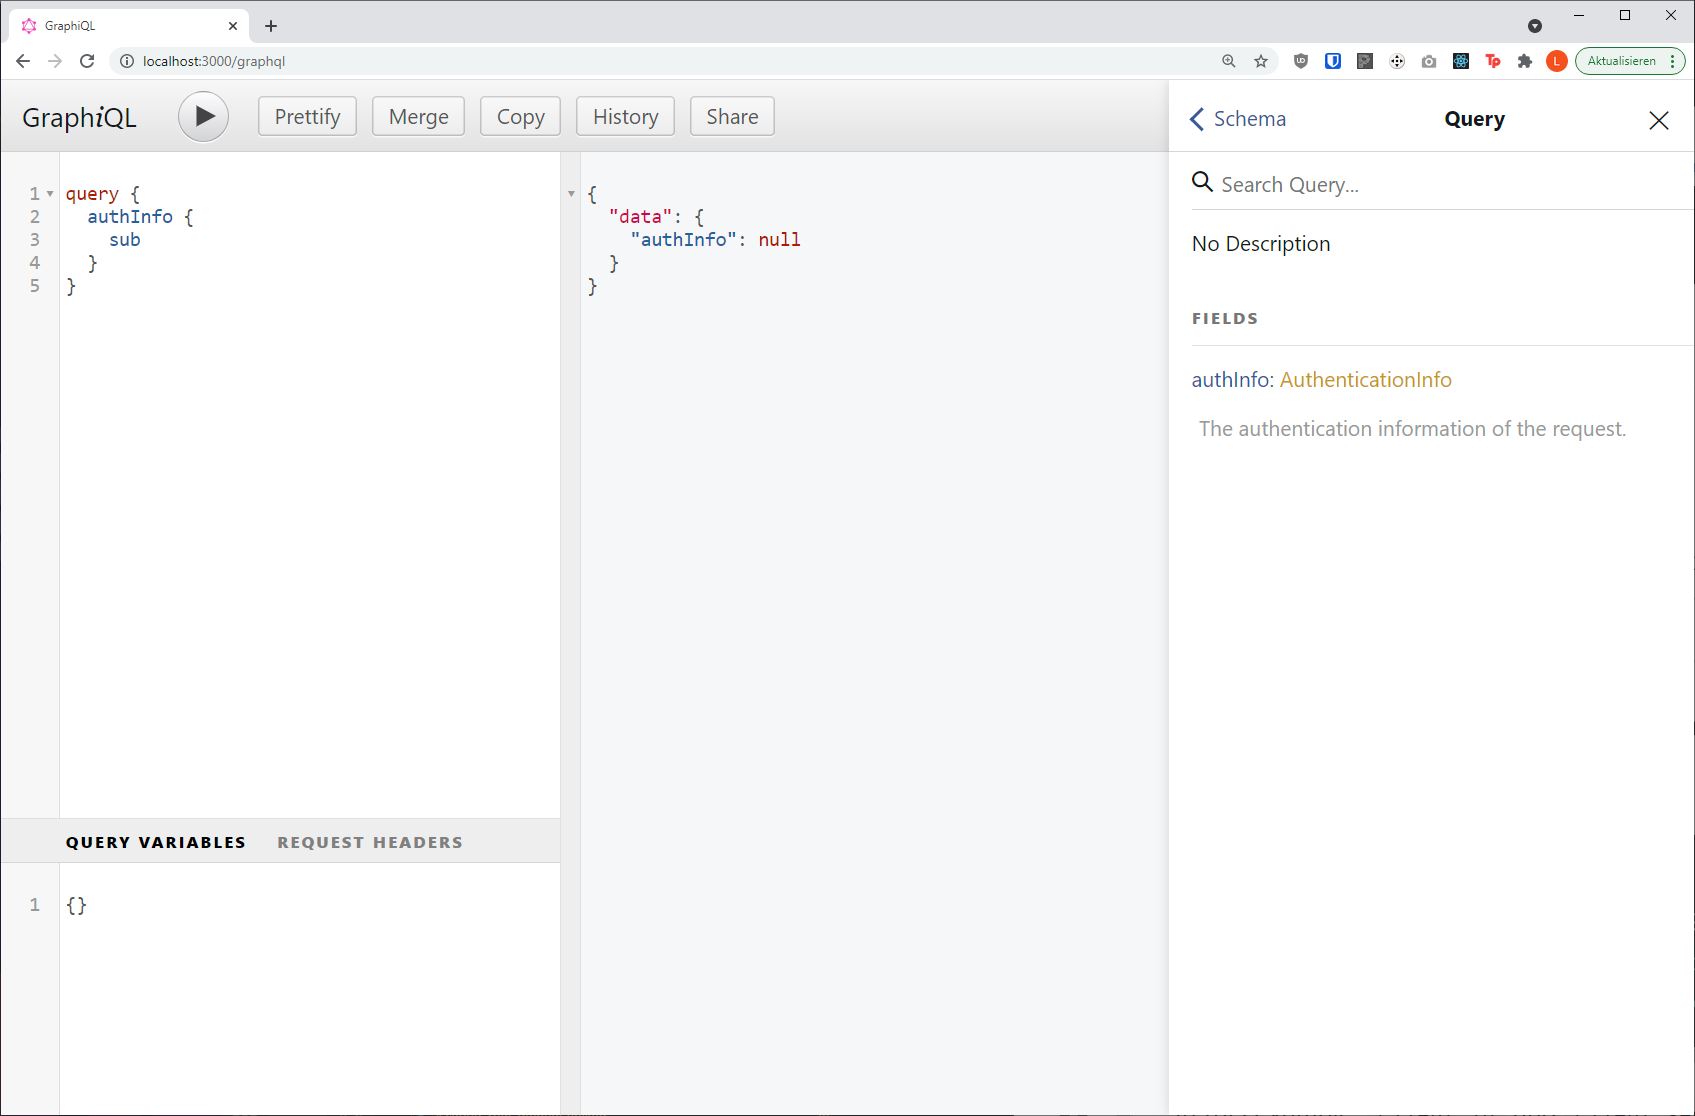
As expected the value of the authInfo field is null, as we are not passing any authentication
headers along with our request.
Generating an Auth0 Access Token
In order to retrieve an access token, we first need to set up an Auth0 application and an
authentication route. For the sake of this guide and to reduce complexity we will simply add a route
to our Fastify HTTP server that renders some HTML with a <script> tag that invokes the Auth0
JavaScript SDK (referenced via a CDN) and then appends the authentication token to the document
body. It should still give you a feeling of how you can integrate the Auth0 SDK with your favorite
Frontend Framework. If you are using Next.js you should check out
nextjs-auth0.
Let’s go back into the Auth0 interface on the Applications page.
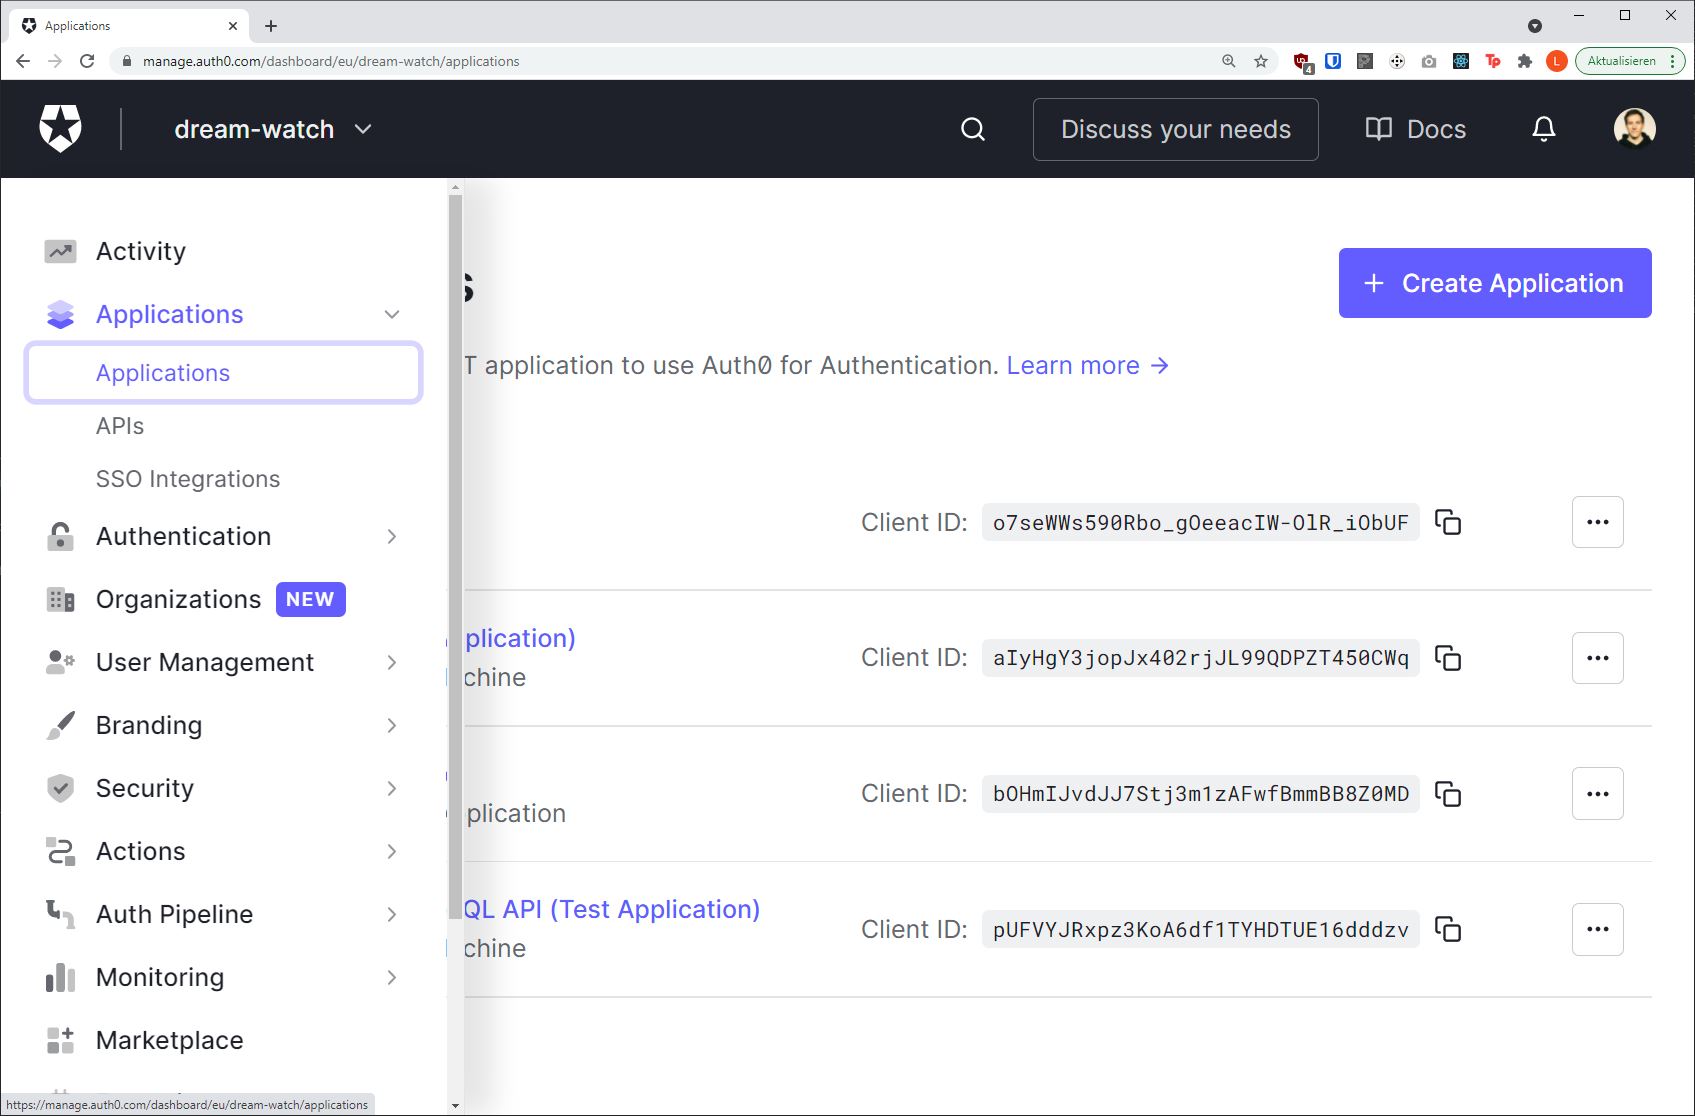
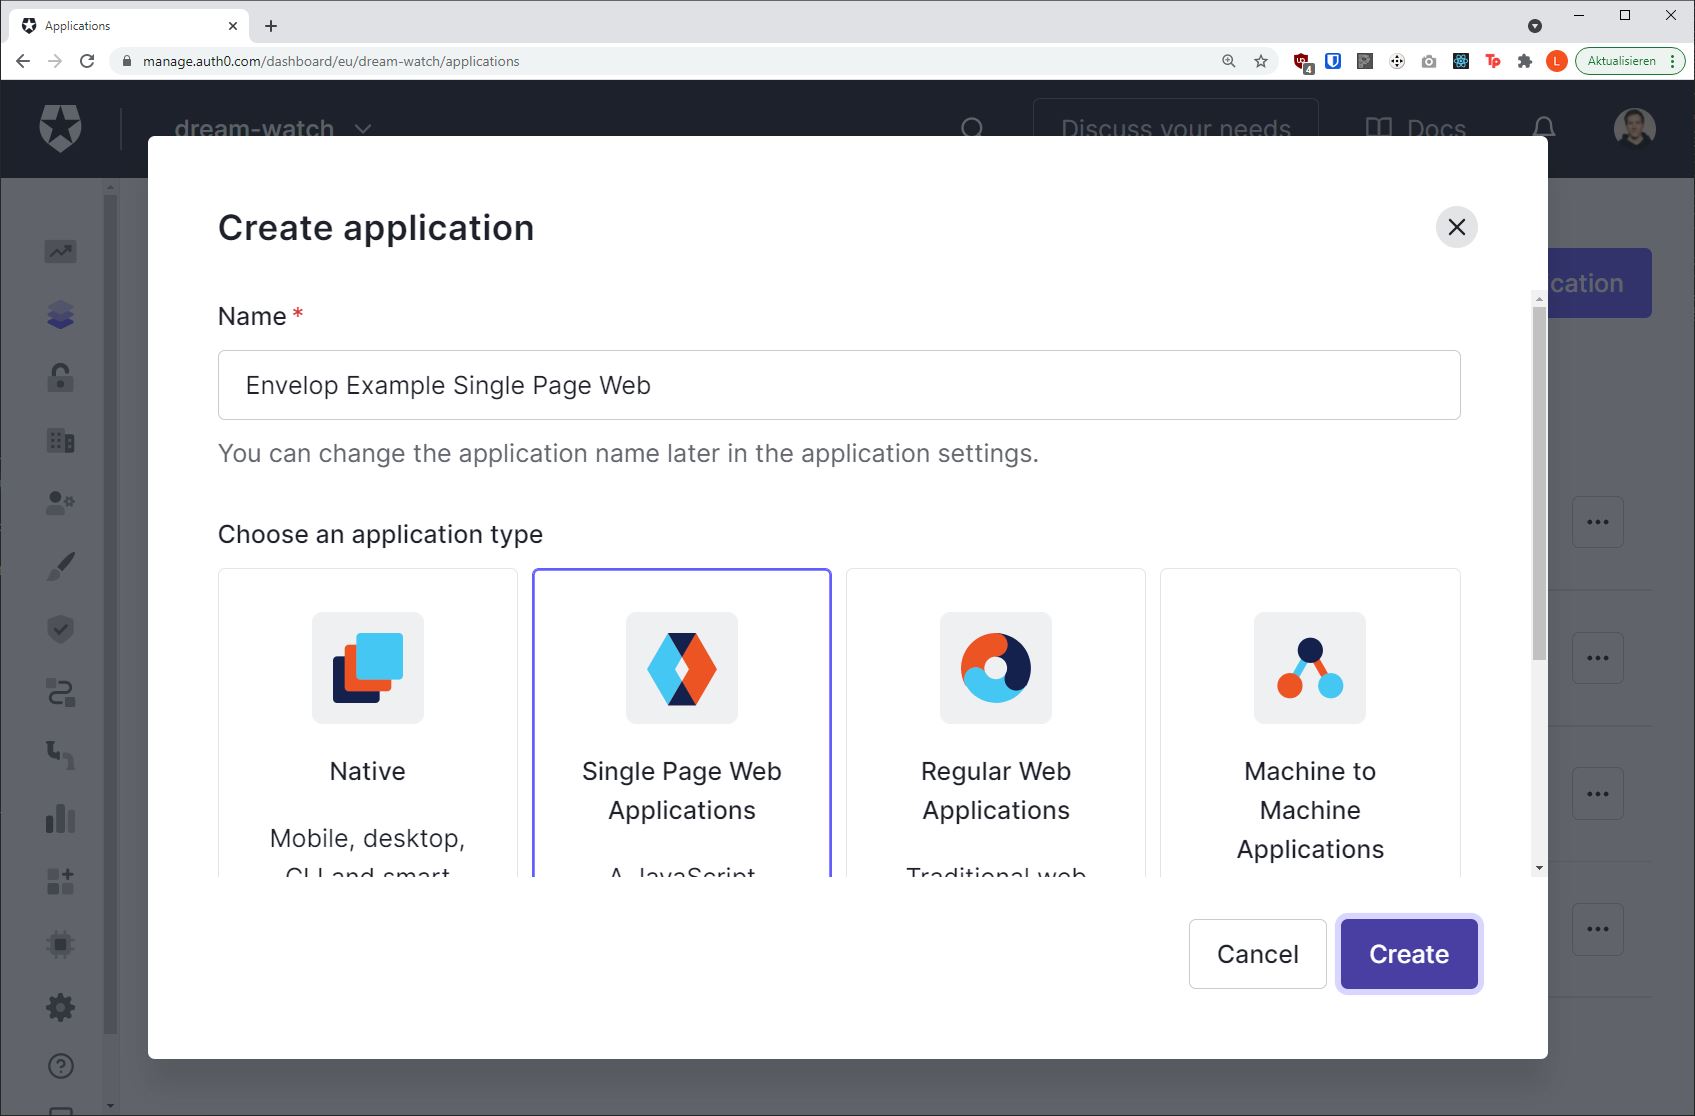
Press the Create application button, enter a name of your choice (e.g.
Envelop Example Single Page Web) and select the Single Page Web Applications application type.
Confirm by pressing the Create button.
We will be redirected to the Application detail page.
The first important information we need from there is the Application Client ID. We need that string for configuring the Auth0 SDK
On that page, we also need to switch to the Settings tab as we will have to adjust our application
URL settings. Our application is hosted on http://localhost:3000. We will have to set the
Allowed Callback URLs, Allowed Logout URLs and Allowed Web Origins setting to that value
(http://localhost:3000).
Don’t forget to save the changes with the Save Changes button at the end of the page.
Next, we add the new route in our Fastify setup:
// ... envelop setup ...

app.route({
  method: 'GET',
  url: '/',
  async handler(req, res) {
    res.header('Content-Type', 'text/html; charset=UTF-8')
    res.send(/* HTML */ `
      <!DOCTYPE html />
      <html>
        <head>
          <script src="https://cdn.auth0.com/js/auth0-spa-js/1.12/auth0-spa-js.production.js"></script>
        </head>
        <body>
          <script>
            createAuth0Client({
              domain: '{account_name}.{region}.auth0.com',
              client_id: '<client_id>',
              audience: 'http://localhost:3000/graphql'
            }).then(async auth0 => {
              await auth0.loginWithPopup()
              const accessToken = await auth0.getTokenSilently()
              window.document.body.innerText = accessToken
            })
          </script>
        </body>
      </html>
    `)
  }
})
As mentioned before it is not that fancy. After restarting the server and opening
http://localhost:3000/ URL we should see a blank page and an Auth0 LogIn pop-up.
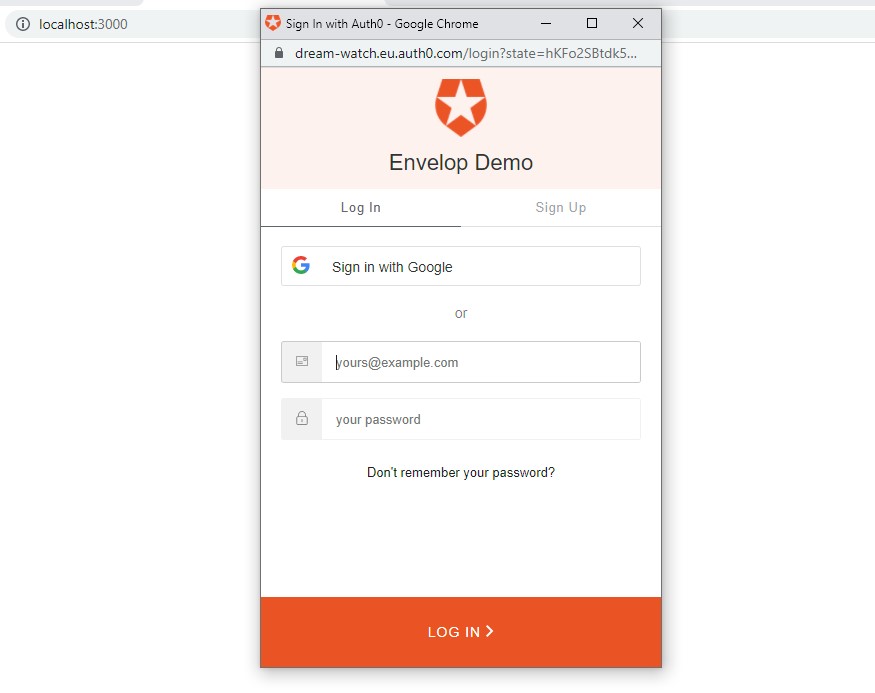
After a successful login the authentication token is added to the blank page.
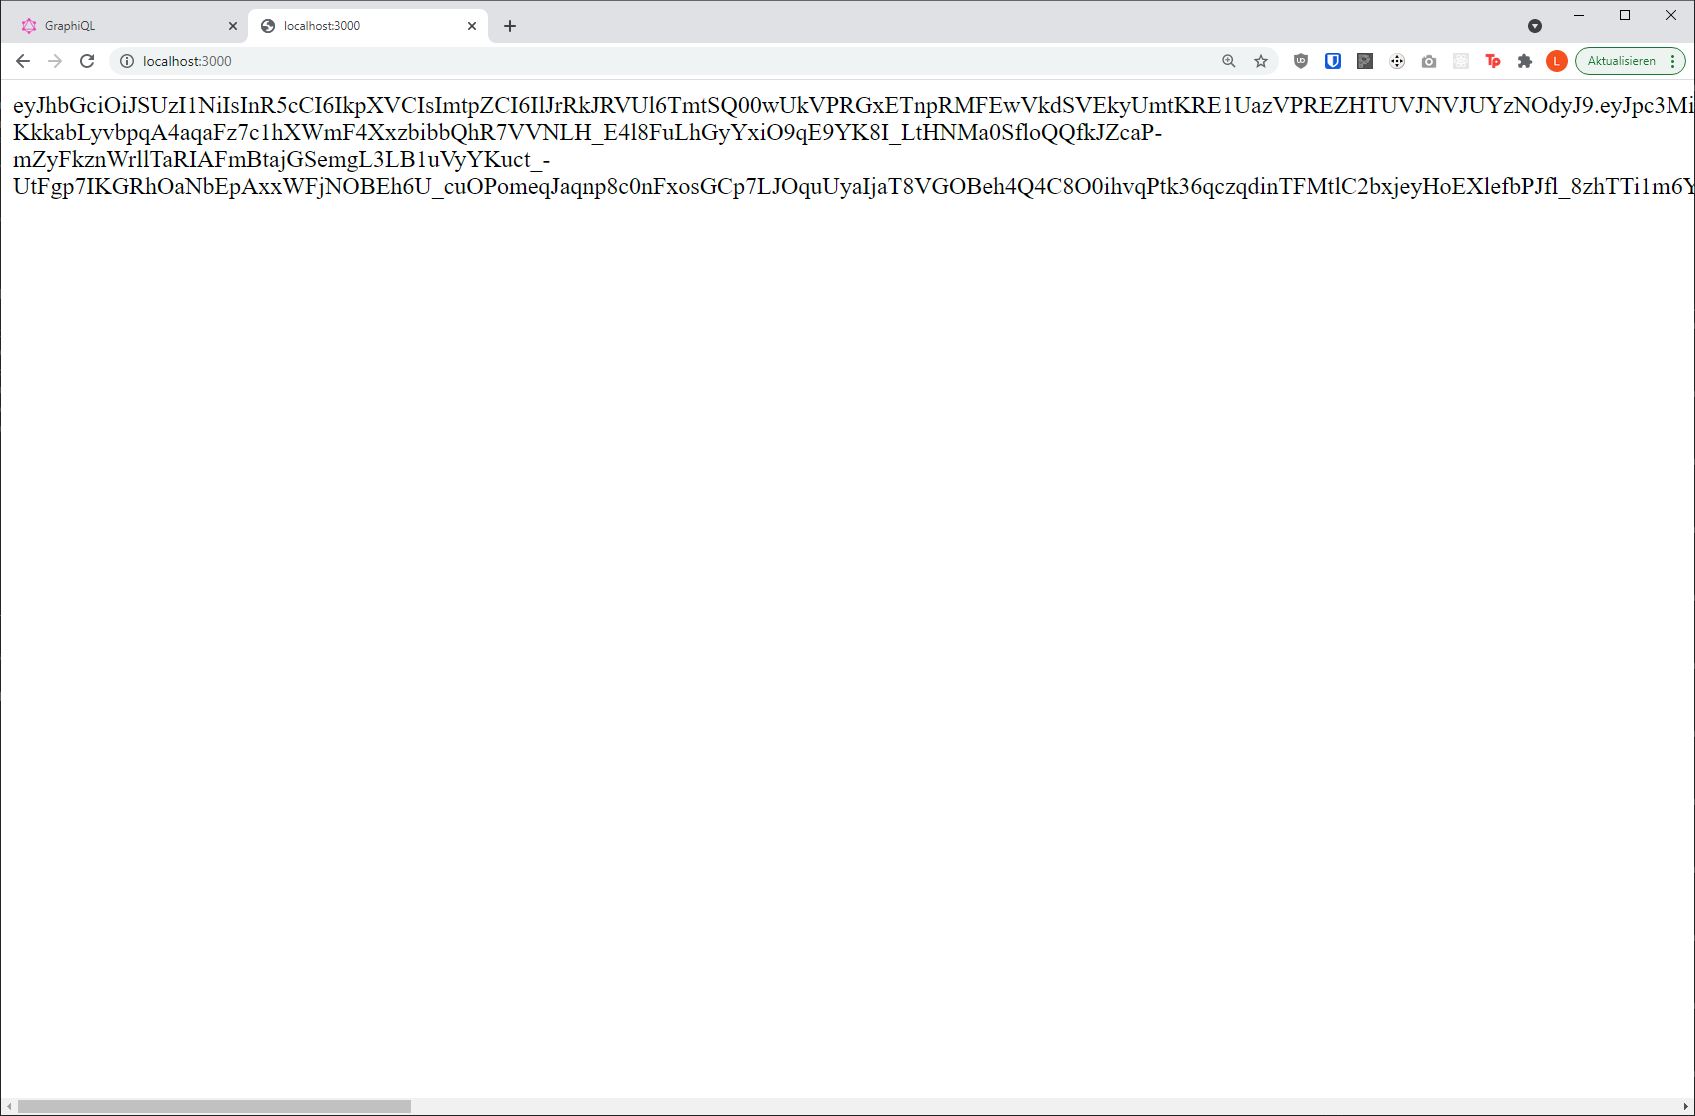
Let’s copy that one and move back to our GraphiQL instance.
Sending an Authenticated Request
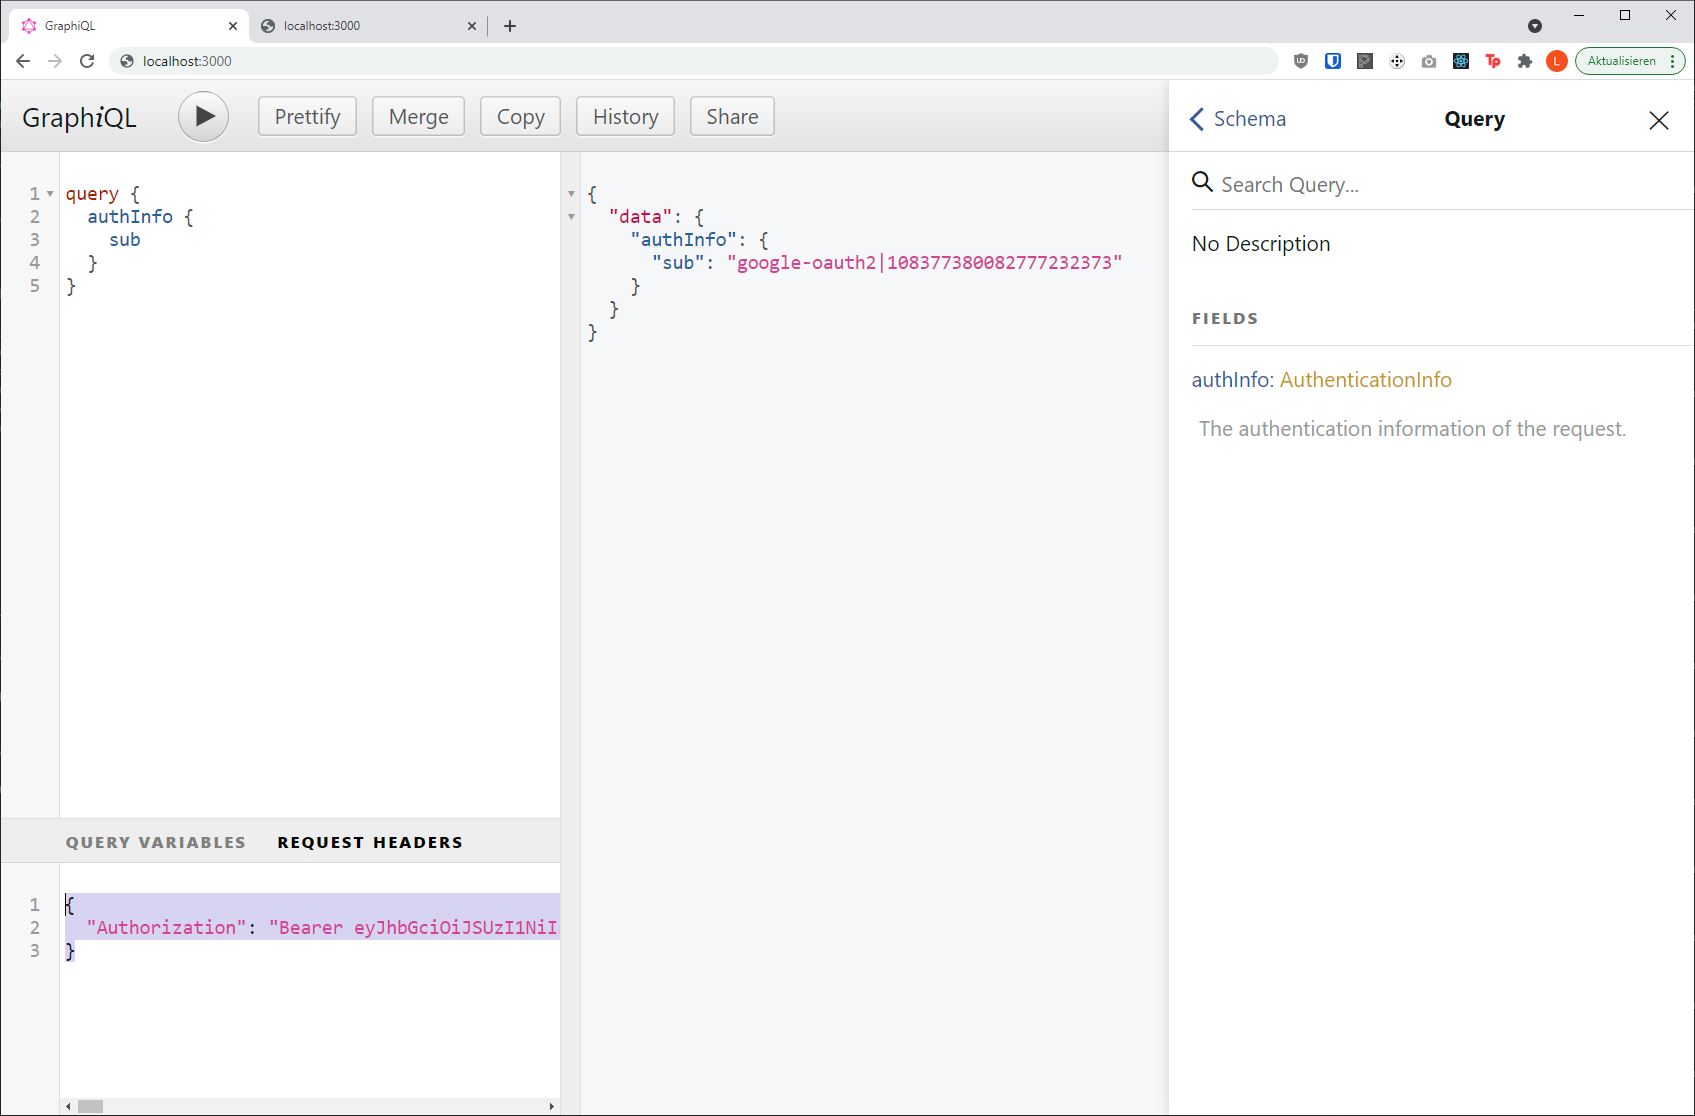
In the Request Headers tab we can specify our Authorization header in the following format:
{
  "Authorization": "Bearer <access token>"
}
Then after re-executing the operation we see that the result now contains our authentication information!
{
  "data": {
    "authInfo": {
      "sub": "google-oauth2|101177380012777232372"
    }
  }
}
Next Steps
Congratulations on successfully implementing authentication for your GraphQL API with Envelop and Auth0!
The full code of this guide can be found in our Envelop examples.
More information about advanced configuration options can be found on the
useAuth0 PluginHub page.
In the GraphQL schema of this guide, we only re-expose the auth0 authentication information. For a
true registration flow the user information should be persisted via a register mutation or
similar, so additional information such as first and last name is stored within a database.
A full user object could be loaded when building the context via the
useExtendContext plugin.
import * as GraphQLJS from 'graphql'
import { useAuth0 } from '@envelop/auth0'
import { envelop, useEngine, useExtendContext, useSchema } from '@envelop/core'

const getEnveloped = envelop({
  plugins: [
    useEngine(GraphQLJS),
    useSchema(schema),
    useAuth0(auth0Config),
    useExtendContext(async context => {
      if (context.auth0) {
        return {
          user: await context.db.loadUserBySub(context.auth0.sub)
        }
      }
      return {}
    })
  ]
})