Organization Management
A Hive organization is a group of users who share a common set of permissions, or who collaborate on GraphQL APIs. Hive organizations are used to manage access, integrations, and billing.
Create a new organization
To create a new organization, you use this page directly.
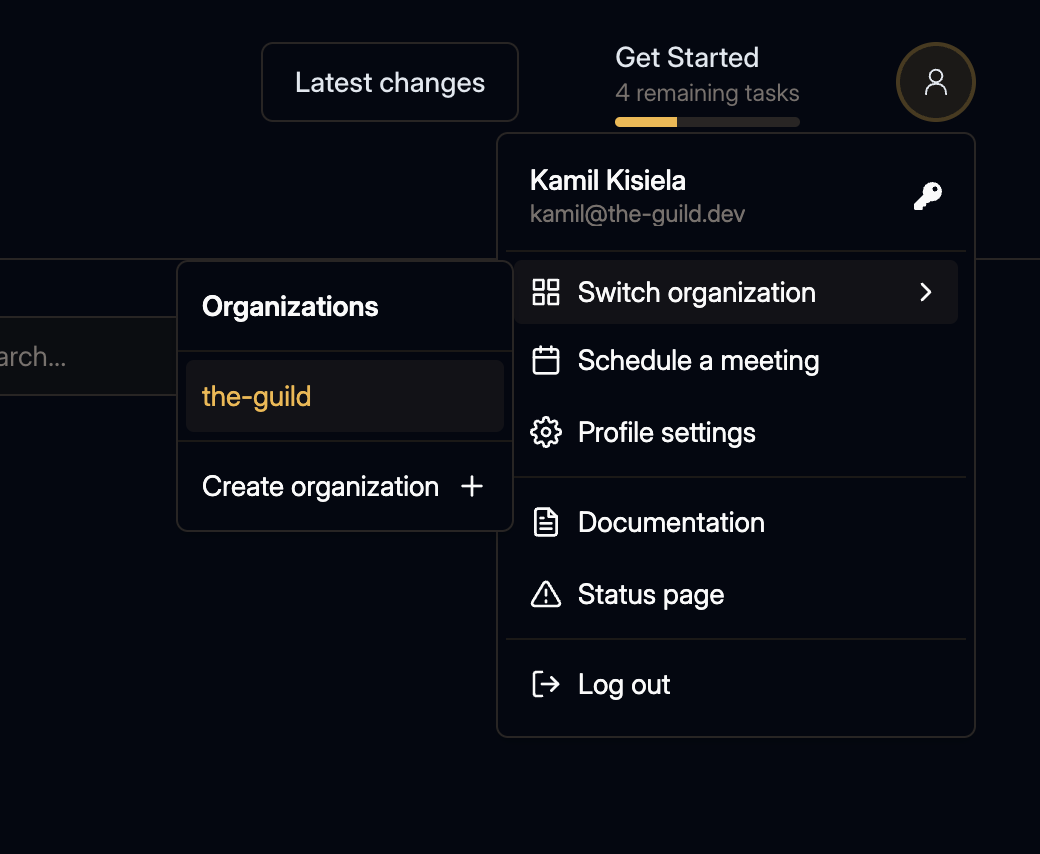
Alternatively, you can create a new Hive organization by clicking on your user profile and selecting Switch organization. From there, click on the Create an organization button.

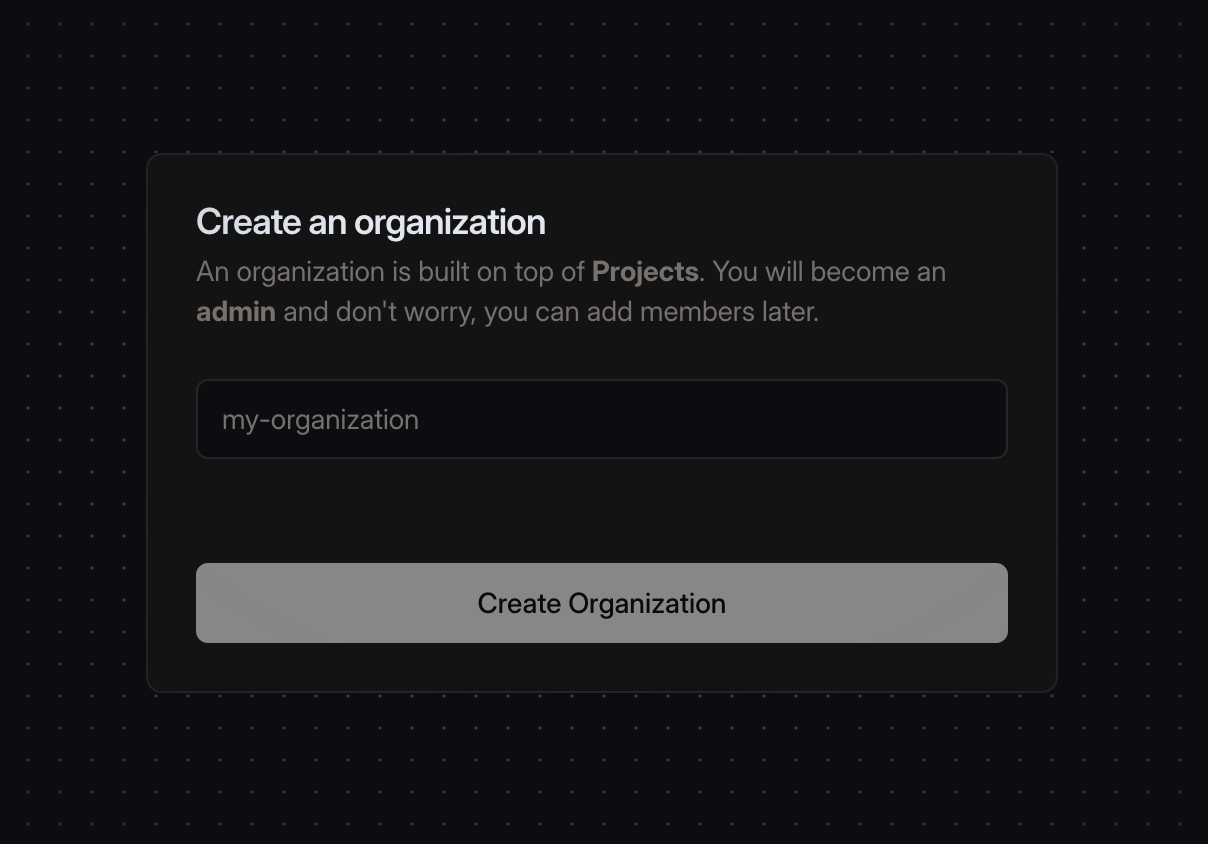
Follow the instructions and choose a unique slug for your organization:

Integrations
On your organization’s Settings page, navigate to the Integrations section to manage integrations with other services.
Slack
The integration of Hive and Slack is an incredibly useful tool that can help you streamline your workflow and increase productivity. By using this integration, you can receive alerts and notifications directly in your Slack channels, allowing you to stay on top of important changes to your GraphQL schemas.
Additionally, this integration can help you to collaborate more effectively with your team members, as you can share information and updates in real-time, ensuring that everyone is on the same page.

To activate this feature in your organization, go to the Integrations section of your Settings page, and click Connect Slack button. You’ll get redirected to Slack to authorize and approve the Slack App installation.
Make sure to select the channels you plan to send messages to on the Slack authorization page.
Now follow the instructions on Project Management page to connect between a Hive project and the actual Slack channel, and choose the alerts and notifications you would like to receive.
GitHub
Integrating Hive and GitHub will provide your GitHub repositories with additional information about GraphQL schema checks and pushes, and will integrate GitHub’s Check Suite feature with Hive.
To activate this feature in your organization:
- Go to the Github Integration section of your organization’s Settings page
- Click Connect GitHub button.
You’ll get redirected to GitHub to authorize and approve the GitHub App installation.
Make sure to select the GitHub repositories you plan to run Hive CLI in. If you use the Hive CLI from multiple GitHub repositories (e.g. for a federated Graph), you’ll need to grant access to each of those, otherwise the publishes or schema checks will fail.
Now follow the instructions on Project Management page to connect between a Hive CLI and the GitHub repository.
SSO with OIDC (OpenID Connect)
Hive supports integrating with OIDC providers, such as Auth0, Okta, Google Workspaces, Azure AD (Active Directory), Keycloak and others.
Connecting an OIDC provider to this organization allows users to automatically log in and be part of this organization.
Follow the instructions on the SSO with OIDC guide for more information about this type of integration.
Subscription and Billing
Hive offers a free tier for all users, and a paid tier for organizations that needs more data storage to store large volume of GraphQL operations sent through Usage Reporting feature.
To manage your plan and subscription, use the Subscription tab under your organization’s page. From there, you can upgrade your plan, view invoices, change your payment method, and cancel your subscription at any time.
If you wish to upgrade your plan, you can choose between the Pro and Enterprise plans.
For the Pro plan, you can use a credit-card and pay monthly for the resevered quota that works for your needs. You can modify your plan and resevered quota any time during the month.
For the Enterprise plan, please reach our to us, and we’ll be happy to help you with your custom needs.
How do I update my billing information?
Change slug of organization
Slug is a unique identifier for your organization, and a URL namespace on GraphQL Hive.
You can change the slug of your organization by visiting Settings tab of your organization, and using the Organization Slug form.
Changing the slug of your organization will affect the organization URL, and will invalidate any existing links to your organization.
Transfer Ownership
When you create a new organization, you become its owner by default. While you can invite others to be members of your organization, transferring ownership to another user requires utilizing the Transfer Ownership option found under the Settings tab.
Once you fill the form with the email address of the new owner, the new owner will receive a confirmation email.
If the new owner doesn’t accept the transfer within 24 hours, the invitation will expire.
When you transfer an organization to one of the members, the new owner will get access to organization’s contents, projects, members, and settings.
You will keep your access to the organization’s contents, projects, members, and settings, except you won’t be able to remove the organization.
Delete an organization
As the owner of an organization, you have the option to delete the entire organization, including all projects, targets, membership information, and all data collected during your use of Hive.
To delete an organization, go to the Settings tab of your organization, and use the Delete Organization section.