Target Management
Within a Hive project, you can create targets (which are equivalent to runtime environments) and manage different schemas across different contextual runtimes.
When it comes to the GraphQL schema, every target is considered standalone, and can have different states of the same schema within the same GraphQL API project (just like different runtime environments).
When a new Hive project is created, default targets are created (development, staging and
production). You can create more targets if needed, or remove the default ones if they are not in
use.
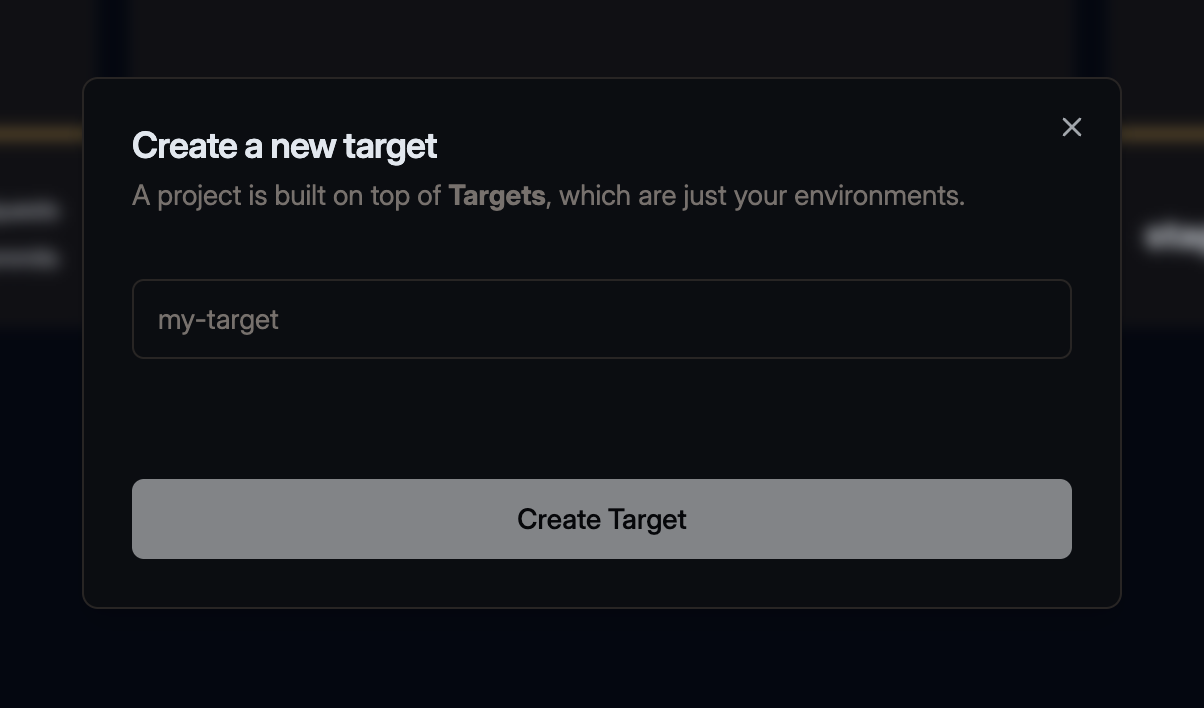
Create a new target
From your Hive project page, you can see the list of targets created under the project. You can also use the New Target button to create a new target.
Manage existing target
Conditional Breaking Changes
Conditional Breaking Changes is a concept that involves marking breaking changes in your GraphQL schemas as safe based on real-life data and traffic reported to Hive. This is done through the Usage Reporting feature.
When running a schema check, Hive uses the data collected from your API gateway to identify whether the change in your schema actually affects consumers.
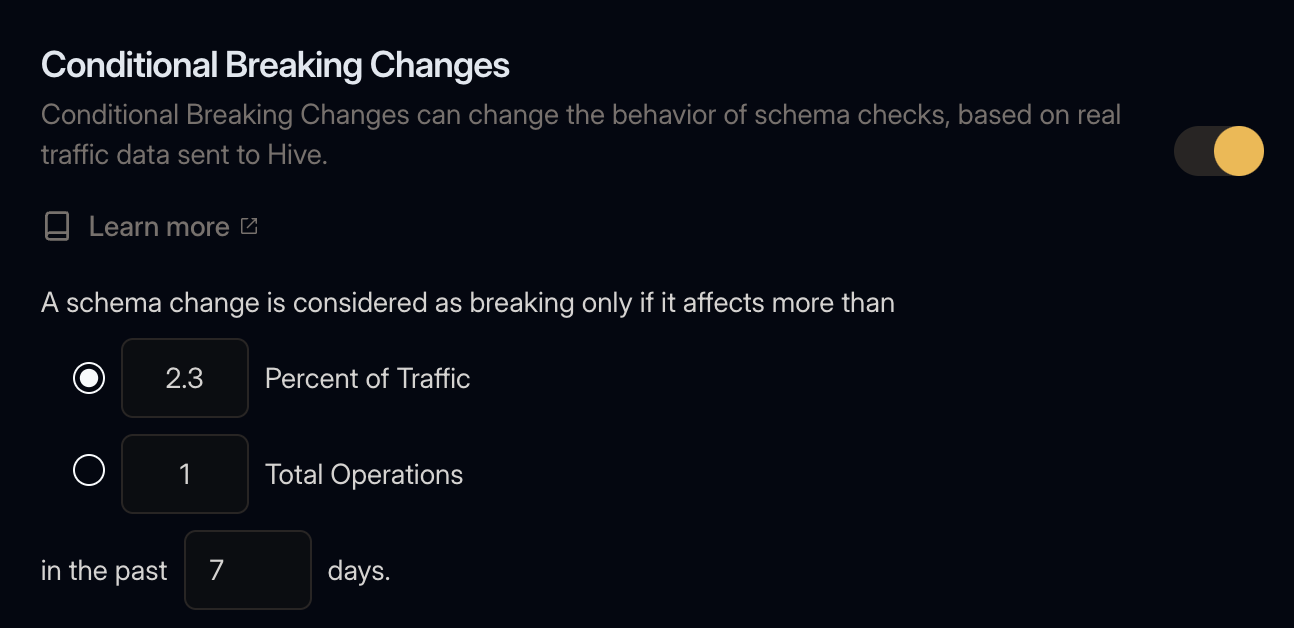
Under your target’s Settings page, you can enable the Conditional Breaking Changes feature and configure the following settings:
Traffic Threshold and Duration
You can choose to mark an incompatible change as safe, if it affects less than some amount of your traffic in a specific time range. The threshold amount can be either a percentage of the total traffic to that target or a fixed number of requests.
Here are a few examples and their meaning:
- Traffic Threshold:
0 Percent of Traffic: An incompatible change is considered as breaking and dangerous if the field was was used at least once. This is equivalent to setting the threshold to1 Total Operations. - Traffic Threshold:
10 Percent of Traffic: An incompatible change is considered as breaking and dangerous if the field was requested by more than 10% of all GraphQL operation. - Traffic Threshold:
10 Total Operations: An inncompatible change is considered as breaking and dangerous if the field was requested by more than 10 total requests.
The maximum duration is defined by the retention of your Hive plan.
Client Exclusions
Real-life data and traffic is collected from your API gateway can be annotated with specific
Client. In most cases, the Client matches a specific User-Agent and reported through the
Hive agent. You can read more about this in the
Usage Reporting page.
You may choose to exclude specific clients from the Conditional Breaking Changes if you wish to have more control over the process.
Cross-target Checks
When a new schema is published to the registry, Hive checks the usage of the field in the current target. However, you may choose to also check the usage of the field in other targets.
This is useful if you wish to use the production target as a reference for the usage of the field,
while checking the schemas of other targets, like staging or development.
Dangerous Changes
Dangerous Changes are a type of schema change that won’t break existing queries but could affect the runtime behavior of clients. This includes things like adding a new type to a union or adding a new enum value.
These have potentially negative side effects (I.e. outages or unhandled responses) depending on how consumers of your schema handle these cases. In order to protect clients from these changes, you can enable the option to “Fail Checks for Dangerous Changes”. This setting can be found under the target’s Settings “Breaking Changes” tab. Enabling this will cause dangerous changes to require Breaking change approval in order to publish.
Schema Extensions
Hive allows you to have a pre-defined GraphQL schema that is automatically merged with your published schemas, before being checked and validated.
This feature is useful with some frameworks that defines internal GraphQL schemas, and doesn’t include it while exporting the schema to a file.
Schema Stitching Directives
If you are using Schema Stitching Directives, you probably want to the core directives as schema extensions, and avoid pushing it through every service.
You can find the complete definition of the Stitching Directives SDL in the documentation
AWS AppSync/Amplify
If you are using AWS AppSync
AWS Amplify, you are probably familiar with the
GraphQL directives (@aws_subscribe, @aws_auth, etc.)
that are used to define the GraphQL schema or models.
While building your GraphQL schema within the AWS AppSync console, you don’t need to define those directives. However, when you try to publish your schema to Hive, you will notice that those directives are missing, and schema is marked with errors.
You can use the Schema Extensions feature to define a pre-defined schema that is automatically merged with your published schemas, before being checked and validated.
You can find here the directive and scalar SDL needed for AWS AppSync
Change slug of a target
You can easily change the slug of your targets in Hive by adjusting the settings of your target.
To do this, go to the Settings tab of your target, and use the Target Slug form.
Changing the slug of your target will also change the target’s URL, and will invalidate any existing links to your target.
Delete a target
As the owner of an organization, you have the option to delete a target, including all targets, settings and all data collected during your use of Hive.
To delete an target, go to the Settings tab of your target, and use the Delete Target section.
Manage Tokens
Under a target’s Settings page, you can manage two different types of tokens.
CDN Access Tokens
Creating a CDN Access Token
The Hive Cloud service leverages the CloudFlare Global Network to deliver your GraphQL schema and schema metadata. This means that your schema will be available from the nearest location to your GraphQL gateway, with 100% uptime, regardless of Hive’s status. This ensures that everything required for your GraphQL API is always available, and reduces the risk of depending on Hive as a single point of failure. You can read more about Hive’s CDN here.
Managing your CDN Access Token is located under your target’s Settings page.
Click on Create new CDN Token to create a new CDN token. Describe your token with an alias, and click Create.
In most cases, CDN Access Tokens are used directly from other tools, like a gateway, so please store this access token securely. You will not be able to see it again.
Why are Registry and CDN tokens different?
We use a separate, externally managed storage to manage CDN tokens to ensure high availability of your schemas. This approach ensures that your GraphQL schemas are fully secured and highly available. CDN tokens are read-only and can only fetch schemas from the CDN. They do not have permissions to perform any other action on your Hive organization.
Revoking a CDN Access Token
In case of a security breach, you can revoke a CDN Access Token by clicking on the Revoke button in the list of CDN tokens.
Revoking CDN access token can take up to 5 minutes to update across the CDN network.
Registry Access Tokens
Please use Access Tokens, which allow more granular access control, instead of Registry Access Tokens. Registry Access Tokens are deprecated and will be removed in the future.
Registry Access Tokens are used to access to Hive Registry and perform actions on your targets/projects. In most cases, this token is used from the Hive CLI.
Under the Registry Access Tokens section, click the Generate new token button. Give your access token a either select a predefined preset for your token (under Simple view), or create a token with custom permissions (under Advanced view).
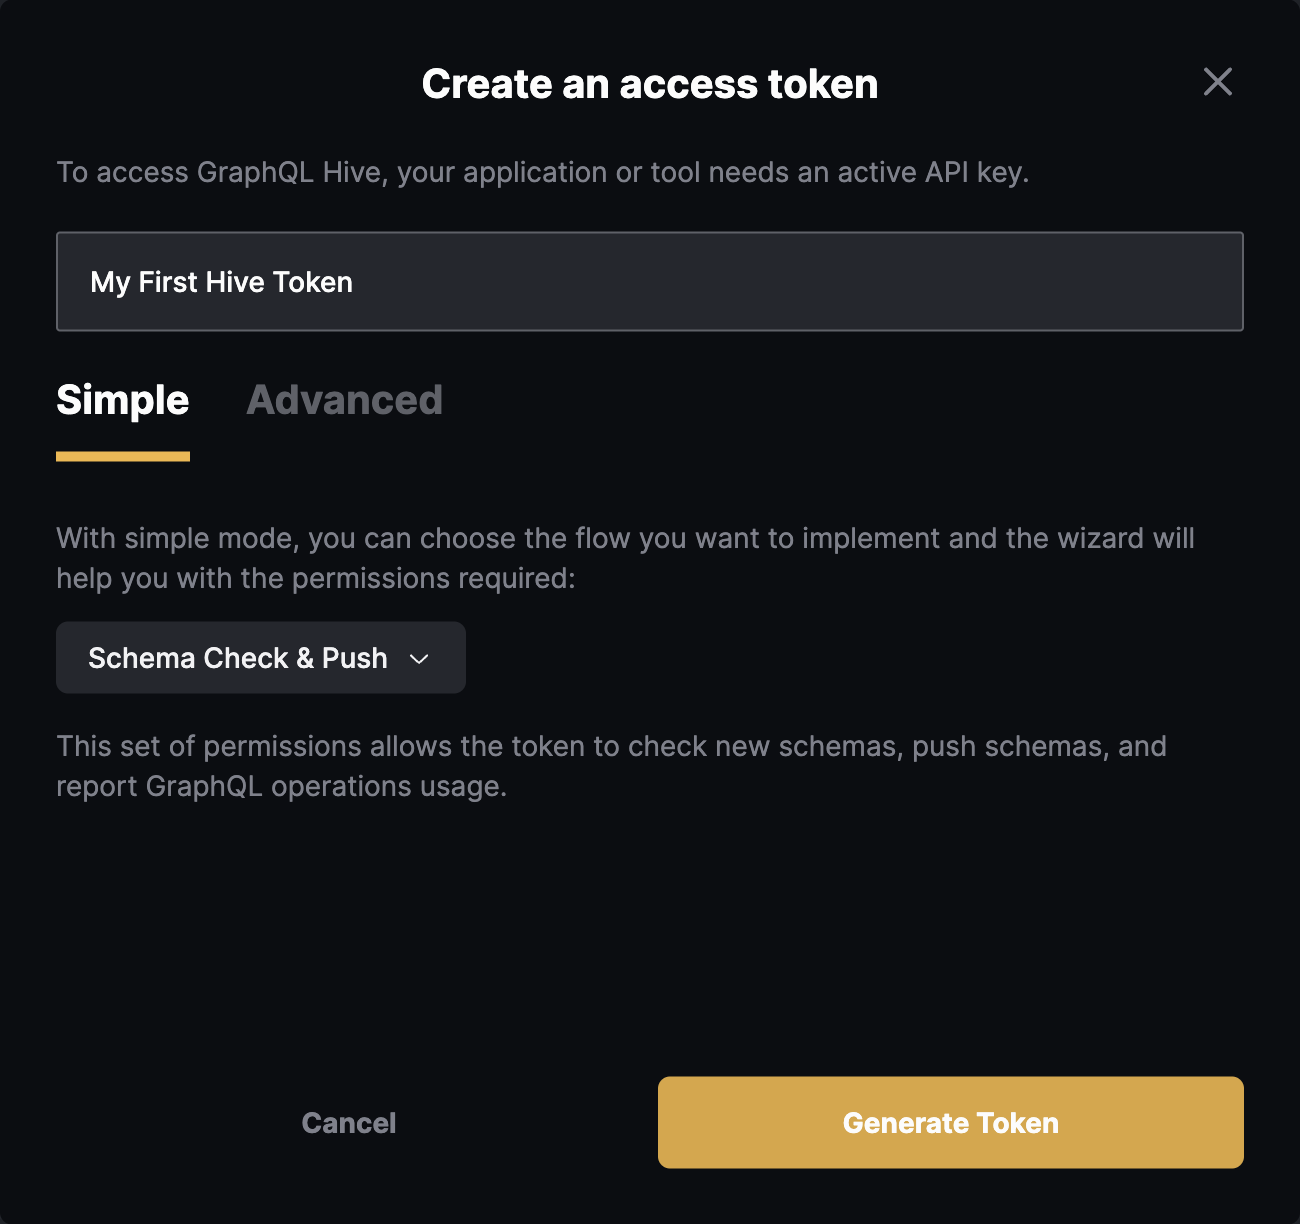
Click on Generate Token button and you should get your CLI token created, with permissions to publish GraphQL schemas.
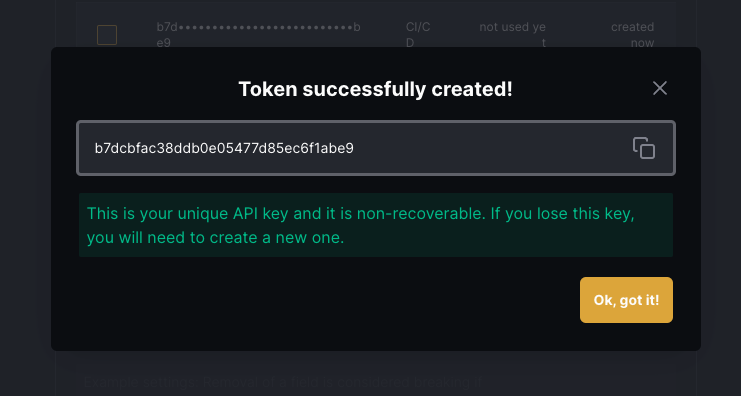
Make sure to copy your token and keep it safe. You won’t be able to see it again.